How to Separate Tables From Floor Plans
Purpose
Use this tutorial when tables were merged on a floor plan and the guests now need to be handled as separate tables again. Separating tables removes the merged table name and returns each table to its own available table tile.
Before You Start
- You must have access to the floor plan screen.
- Select a floor plan, not a bar tabs plan. The merge, separate, transfer, and free-table controls are shown for floor plans.
- The table group must already be merged. When separate-table mode is turned on, only merged table groups can be selected.
- Do not separate a merged table group that already has an active order or guests assigned. The POS blocks this and shows Can not split in-progress tables.
Steps
-
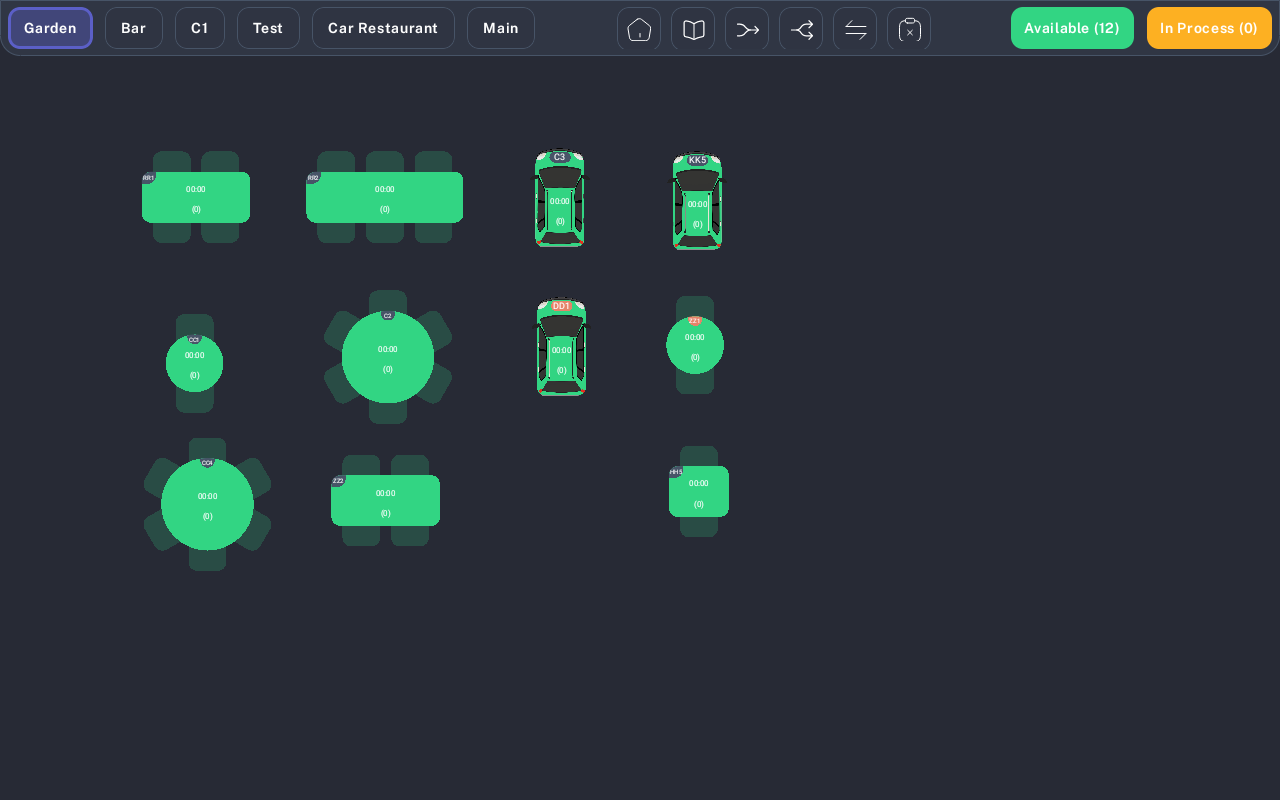
Open the floor plan screen and select the floor plan that contains the merged table group, such as Garden, Main, or the restaurant's configured floor name.
-
Tap the separate-table icon in the top toolbar. It is the icon with two arrows splitting apart, next to the merge icon.
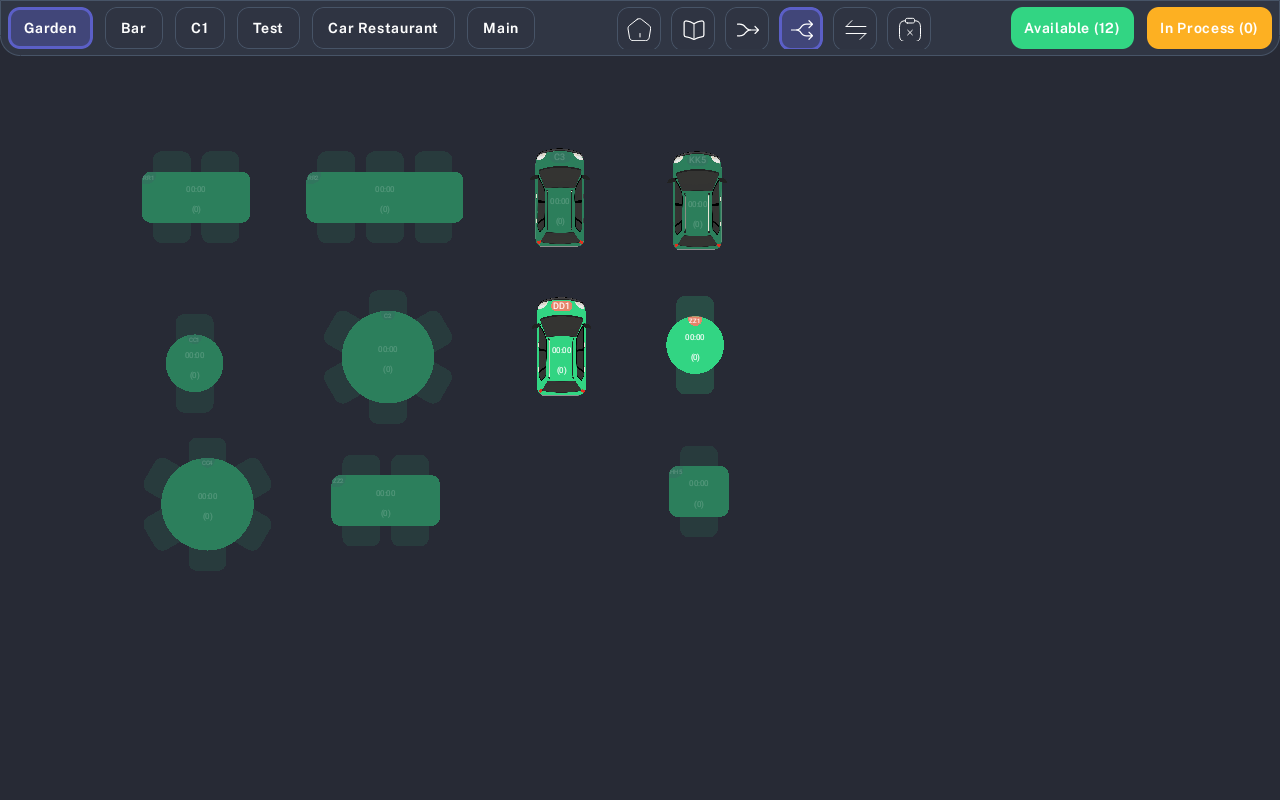
- Tap the merged table group that should be separated. The selected merged group is highlighted.
- Review the selected table group. If the wrong group is selected, tap it again to clear the selection, then select the correct merged group.
- Tap Done to separate the merged tables.
- Wait for the POS message. A successful separation shows Table split.
Expected Result
The merged table group is separated. Each original table appears as its own available table on the selected floor plan, and the combined merged table name is removed.
Important
Separate tables before starting or saving an order on the merged table group. If the table group is already in process, keep the tables merged until the order is handled or ask a manager to review the order.
Common Mistakes
- No table can be selected: Confirm the separate-table icon is active and the floor plan has a merged table group. Non-merged tables are disabled in this mode.
- The separate button is missing: Confirm you are on a floor plan. These table controls are hidden on bar tabs plans.
- The needed table is hidden: Turn off the Available or In Process filter, or switch to the correct floor plan tab.
- Done is not visible: Select a merged table group first. The POS shows Done only after a valid table group is selected.
Common Questions
- Can I separate any table? No. Separate-table mode is for merged table groups only.
- Can I separate tables after payment starts? No. If the merged table is in process or has guests assigned, the POS blocks the split.
- Does separating tables delete an order? No. Separation is intended for merged available tables. If there is an order, resolve the order first before changing the table group.
- Can I separate bar tabs? No. Table separation is for floor plan tables only.
Notes
- Screenshots were captured from an iMin D1 device using the Garden floor plan. Floor plan names and table names may be different for each restaurant.
- The captured sample floor plan did not contain a merged table group, so the screenshot shows separate-table mode before selecting a merged group. Product owner or QA should verify the final selected-table visual on a restaurant account with merged tables.