How to Use Settings
Purpose
Use Settings when you need to review or change how this POS terminal behaves. Some settings affect only this terminal, while hardware and payment changes may affect checkout, receipts, kitchen printing, or closing.
Before You Start
- Use a manager or authorized staff login if your restaurant restricts settings access.
- Confirm the POS is not in the middle of a payment, refund, printer setup, or closing action.
- For printer, cash drawer, PDQ, or Tap To Pay changes, keep the device powered on and connected before you start.
Steps
-
Open Settings
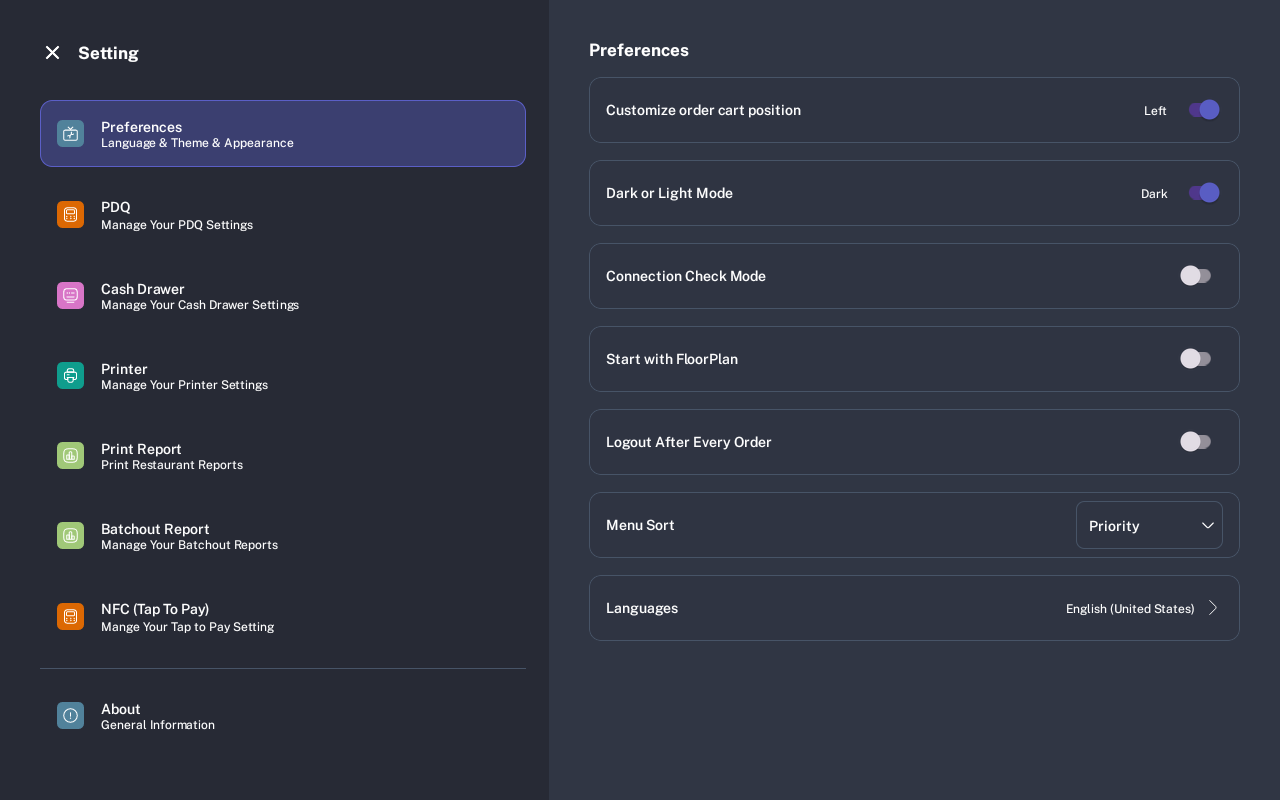
From the order screen, tap the Settings gear in the top bar. The Settings screen opens with the menu on the left and the selected option on the right.
-
Preferences
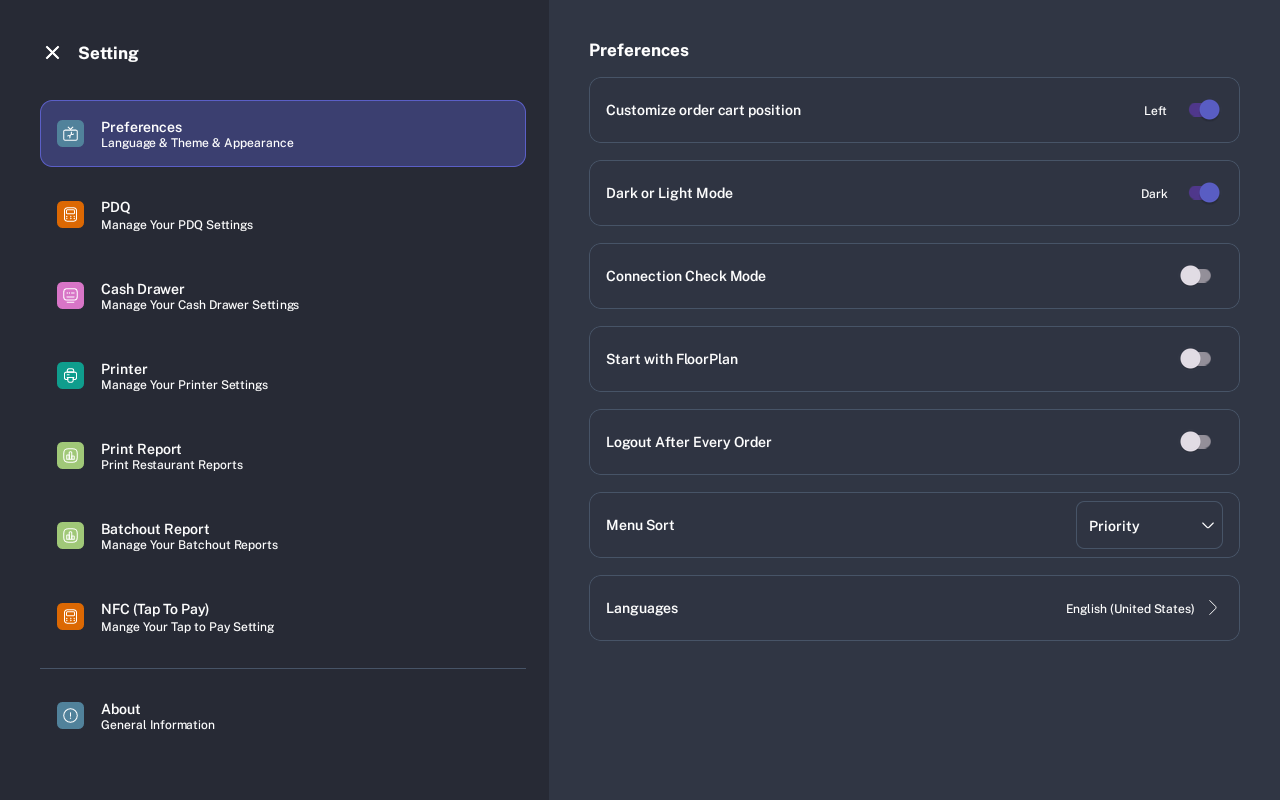
Select Preferences to change terminal behavior. Use this screen for cart position, dark or light mode, connection check mode, start with FloorPlan, logout after every order, menu sort, and language.
Use these options when the staff workflow or terminal display needs to change. Theme changes may require an app restart if the POS prompts for it.
-
PDQ
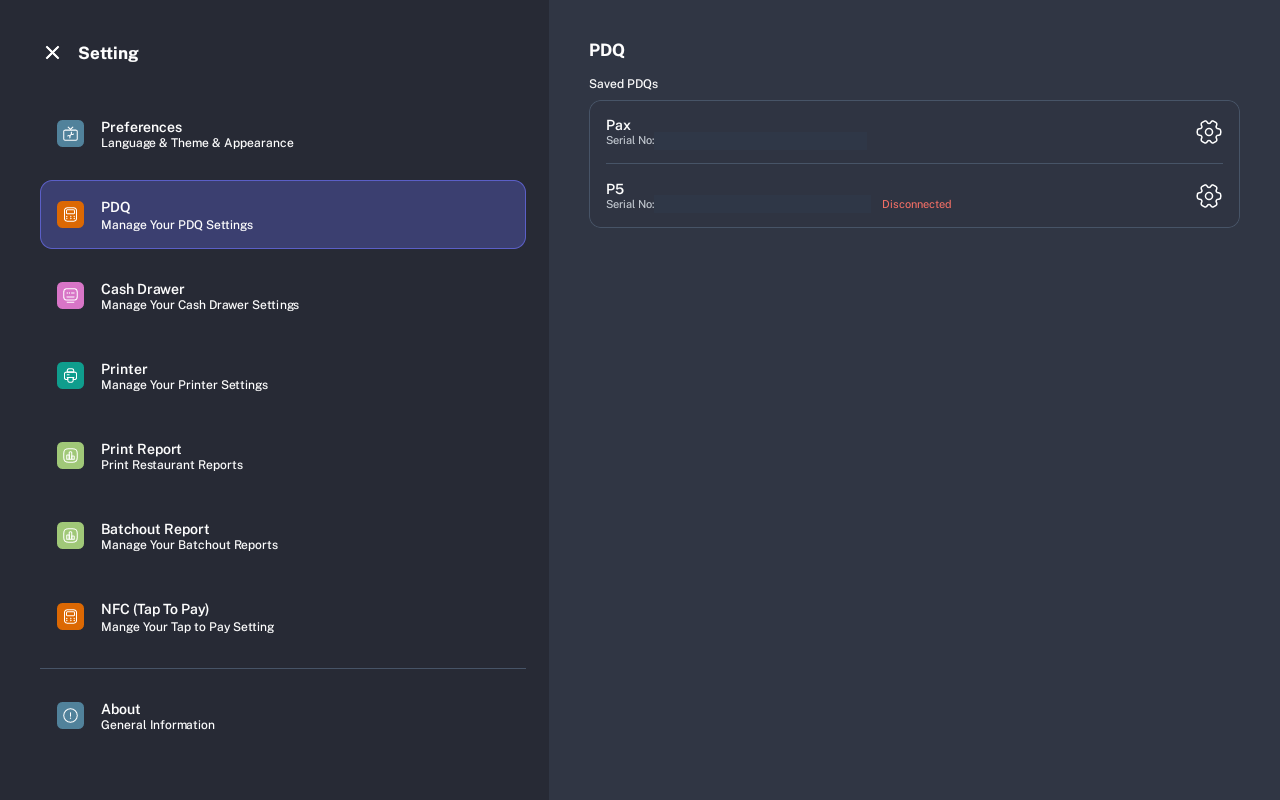
Select PDQ to review saved payment devices and open device settings. Use this when a card terminal needs to be checked, edited, or reconnected.
If a terminal shows Disconnected, confirm the device is powered on, on the correct network or connection type, and configured by a manager or support user.
-
Cash Drawer
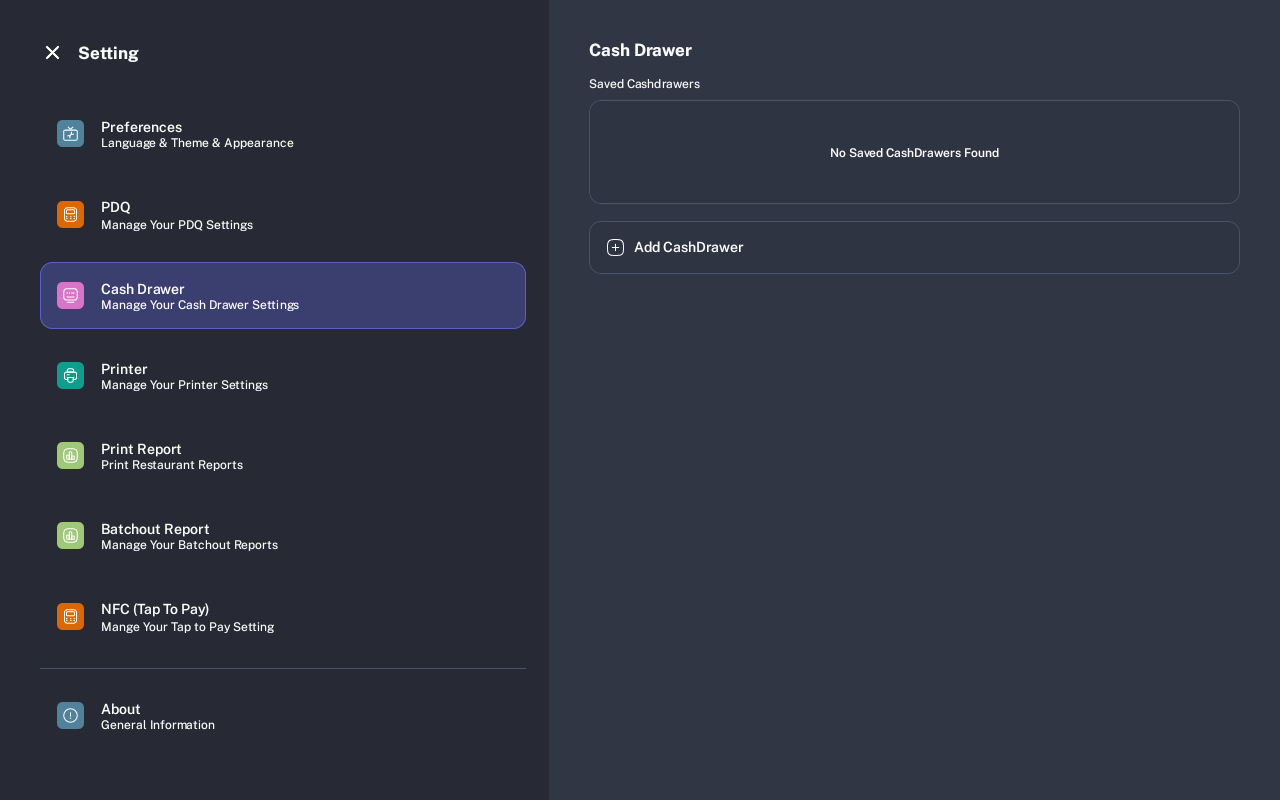
Select Cash Drawer to review saved cash drawers or add a cash drawer. A cash drawer usually depends on an attached printer, so confirm the printer is already saved and working first.
If no drawer is saved, select Add CashDrawer and follow the setup prompts.
-
Printer
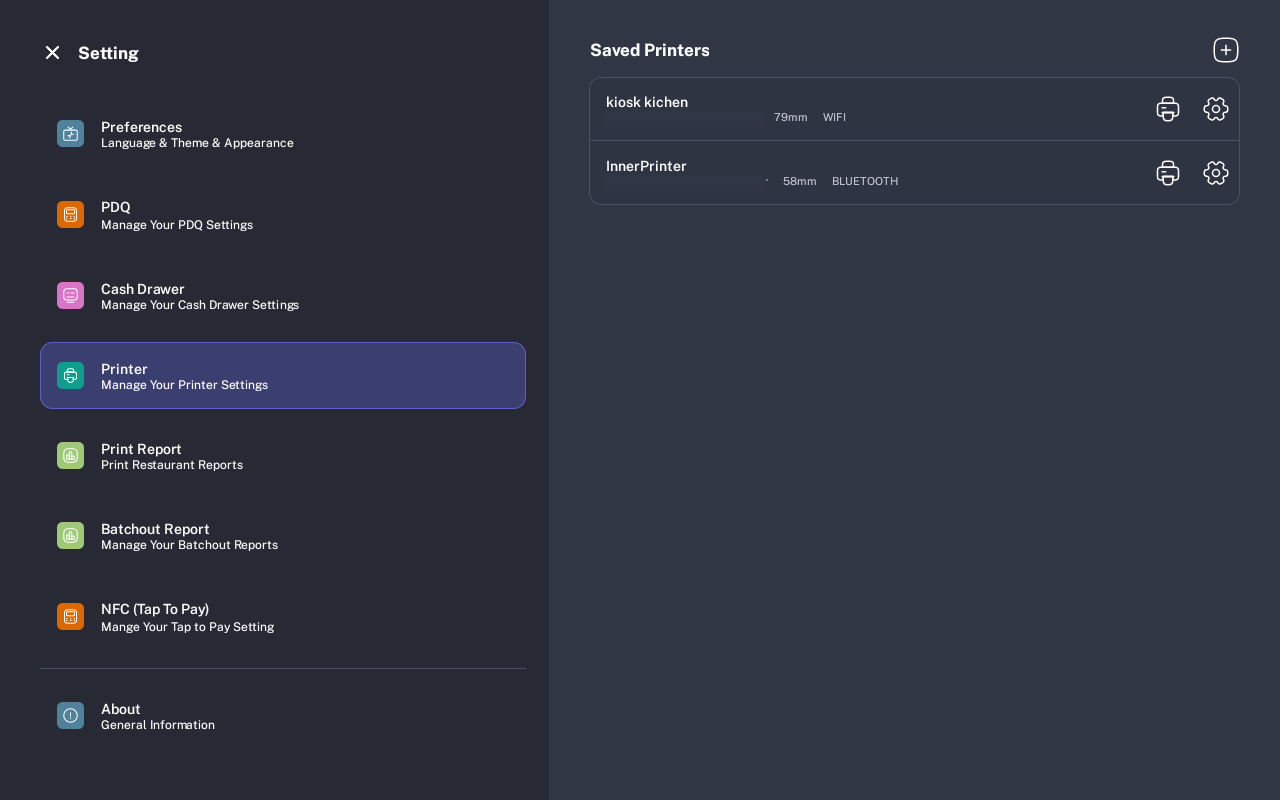
Select Printer to review saved printers, print a test, edit printer details, or add a new printer with the plus button.
If Android asks for Bluetooth or location permissions, allow them so the POS can discover nearby printers. Use the printer setup tutorial for the full add-and-test workflow.
-
Print Report
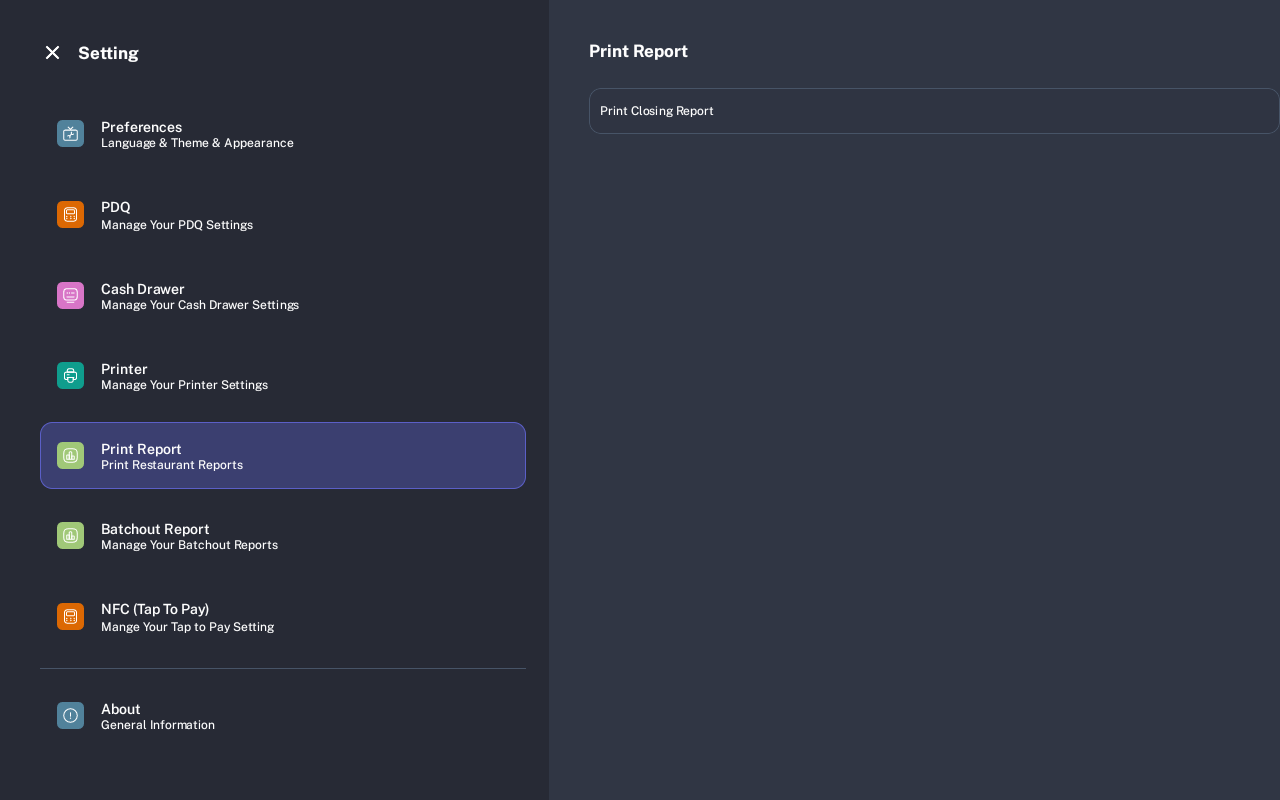
Select Print Report when a manager needs to print the closing report from the POS.
Before printing, make sure a main printer is saved, connected, loaded with paper, and available to this terminal.
-
Batchout Report
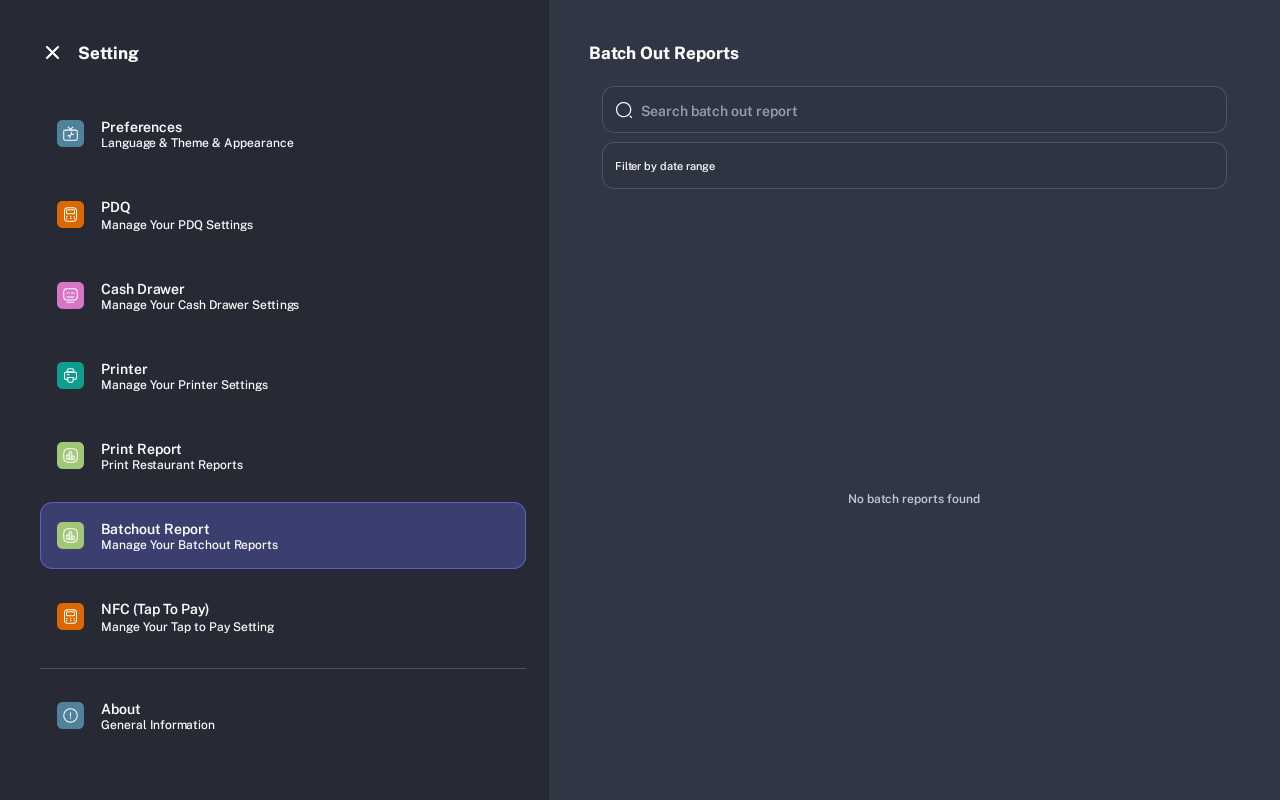
Select Batchout Report to search and review saved batch out reports. Use the search field when you know the report name or number.
Use Filter by date range when staff need to find reports from a specific business day or date range.
-
NFC (Tap To Pay)
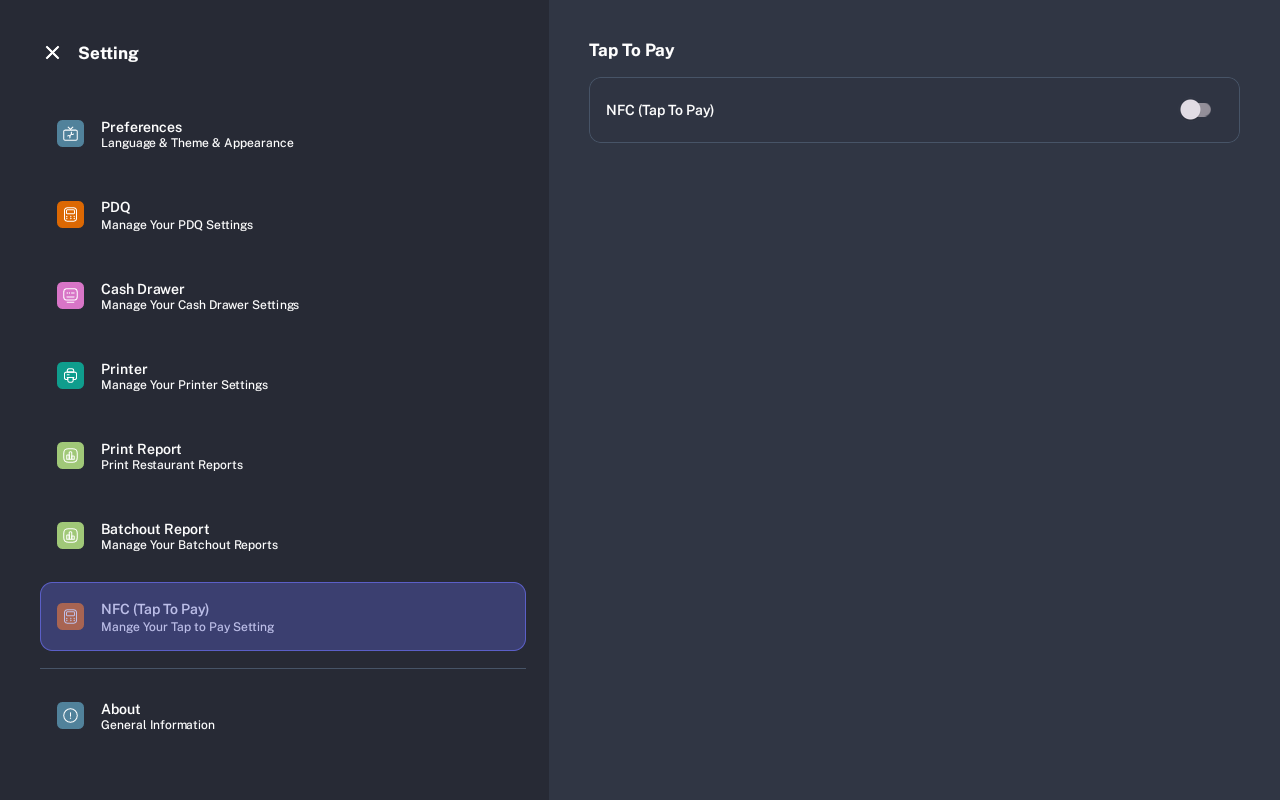
Select NFC (Tap To Pay) when the terminal supports NFC payment and the restaurant uses Tap To Pay.
Turn this on only when the device and payment account are configured for Tap To Pay. If the option is missing, the terminal may not support NFC or the payment device type may hide it.
-
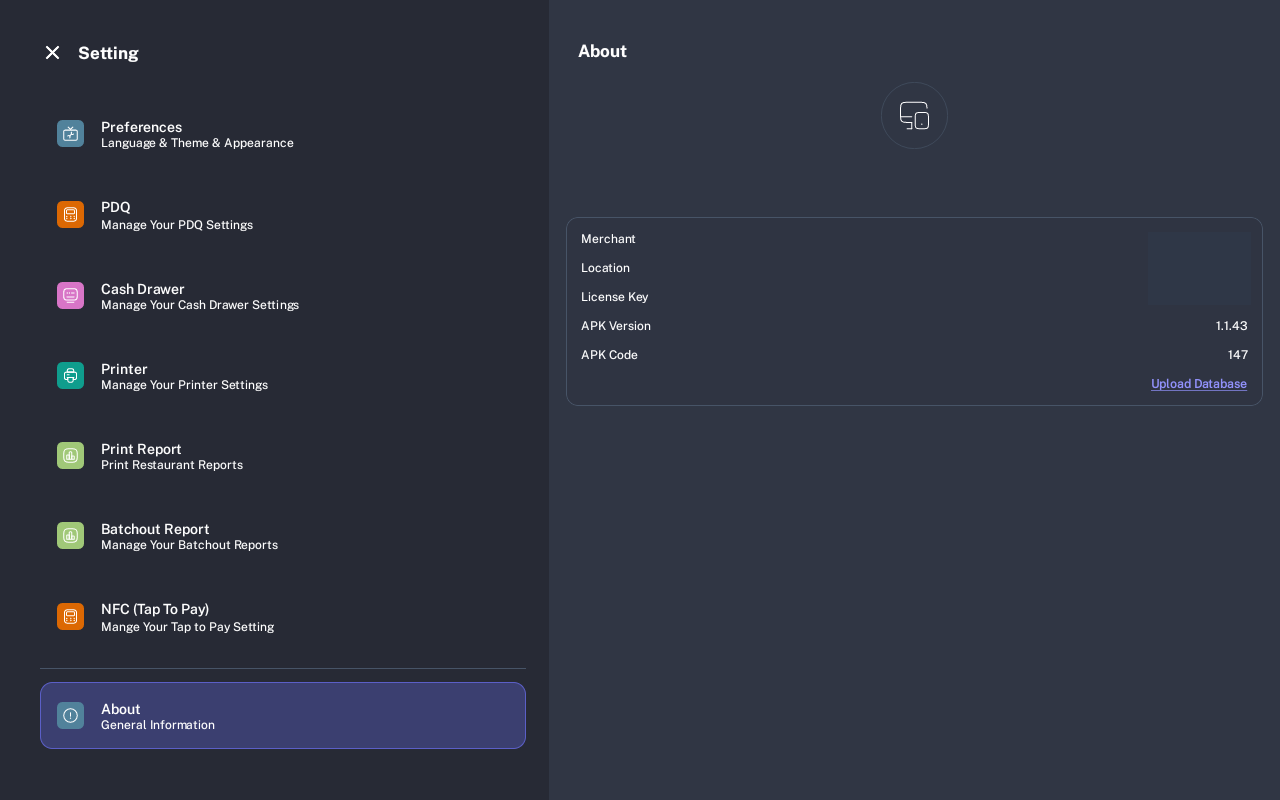
About
Select About to check merchant, location, license key, APK version, and APK code information.
Use this screen when support asks you to confirm the restaurant account, location, license, or app version. Do not share license details in public chats or screenshots.
-
Close Settings
Tap the close icon or back control to leave Settings and return to the POS.
Expected Result
The selected settings screen opens, and any saved changes are reflected on this terminal. Hardware and payment configuration should be tested before the terminal is used for live service.
Troubleshooting
- Printer discovery does not open: Grant the requested Bluetooth and location permissions, then open Printer again.
- No printer is available for reports: Add or reconnect a main printer before printing reports.
- NFC (Tap To Pay) is missing: The option appears only on supported NFC terminals and may be hidden on Dejavoo devices.
- A PIN is requested: Enter the manager PIN to confirm protected changes.
- Theme changes do not appear immediately: Restart the app if prompted.
Common Questions
- Do preferences affect every terminal? Treat Preferences as terminal behavior unless your manager confirms a setting is shared.
- Where do I configure receipt printers? Open Printer. For a full walkthrough, use the printer setup tutorial.
- Where do I check app version or license information? Open About.
Notes
This tutorial uses the tablet Settings layout. Mobile terminals show the same major options in a narrower layout. Exact availability depends on permissions, hardware, and restaurant configuration.