How to Use Floor Plan Chips and Bottom Sheets
Purpose
Use this guide to understand every Floor Plan chip, the table and tab bottom sheets, and the table order actions drawer.
Before You Start
- Your role must have access to the floor plan or bar plan you want to open.
- Floor plans and bar tabs must already be configured for the restaurant.
- Some table actions, such as merge, split, transfer, and free/close, depend on manager permissions and current table status.
Floor Plan Chips
-
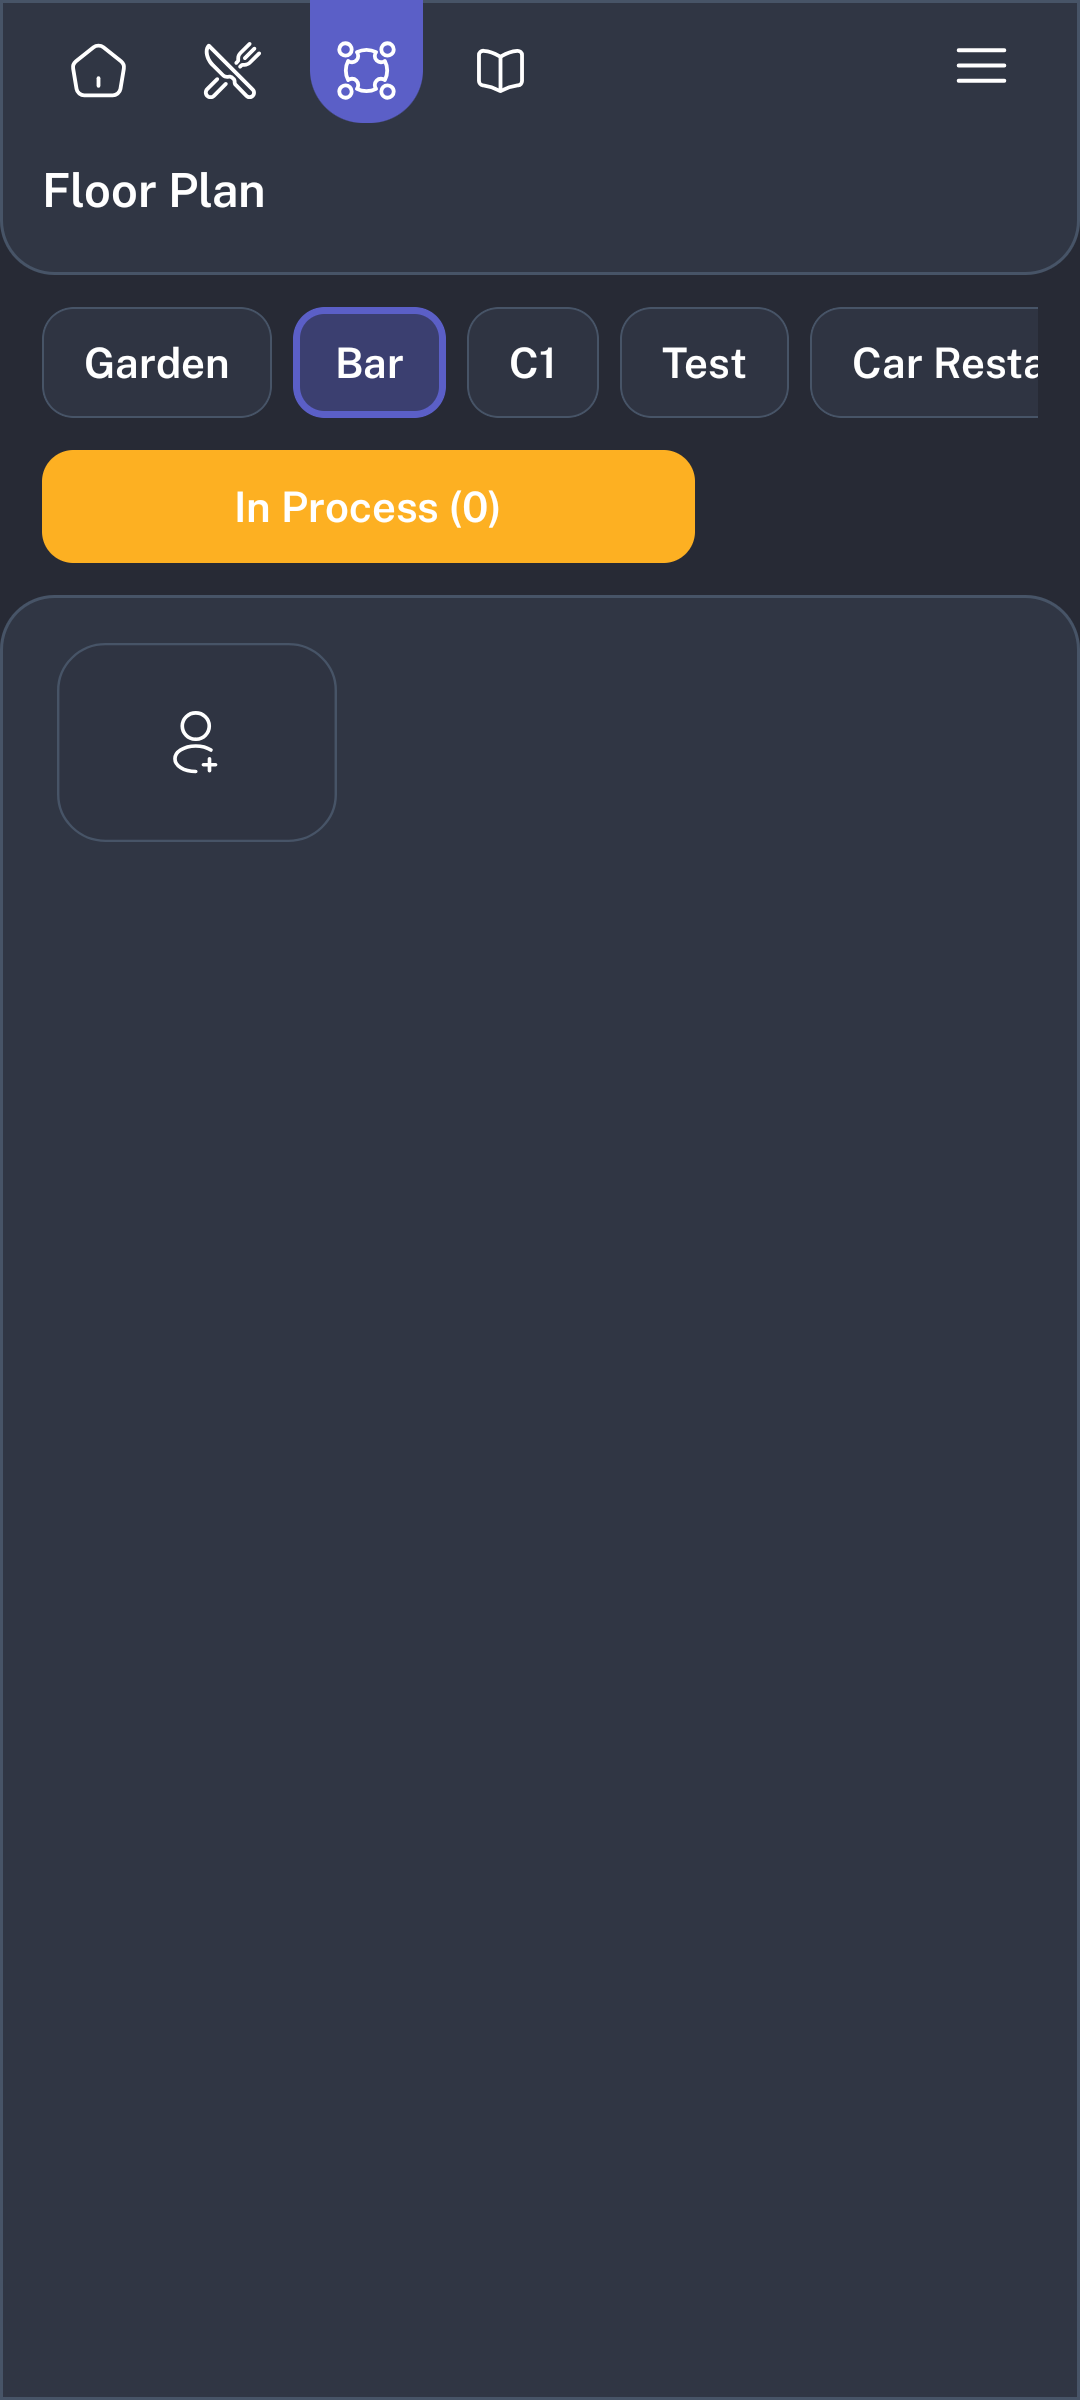
Open Floor Plan. The chips at the top, such as Garden, Bar, C1, and Test, switch between configured floor plans or bar-tab plans.
- Tap a floor-plan chip, such as Garden, to show table shapes for that area.
- Tap a bar-plan chip, such as Bar, to show bar tabs instead of dining tables.
- If a chip does not open, ask a manager to confirm your floor plan or bar plan permission.
Available and In Process Chips
-
Tap Available to show available tables only. Tap it again to return to all tables.
-
Tap In Process to show tables or tabs with active orders. Tap it again to return to all tables.
- On table floor plans, both Available and In Process are shown.
- On bar-tab plans, only In Process is shown because tabs are opened from the tab card.
Table Bottom Sheet
-
Tap an available table, such as C2. POSHub opens the table bottom sheet.
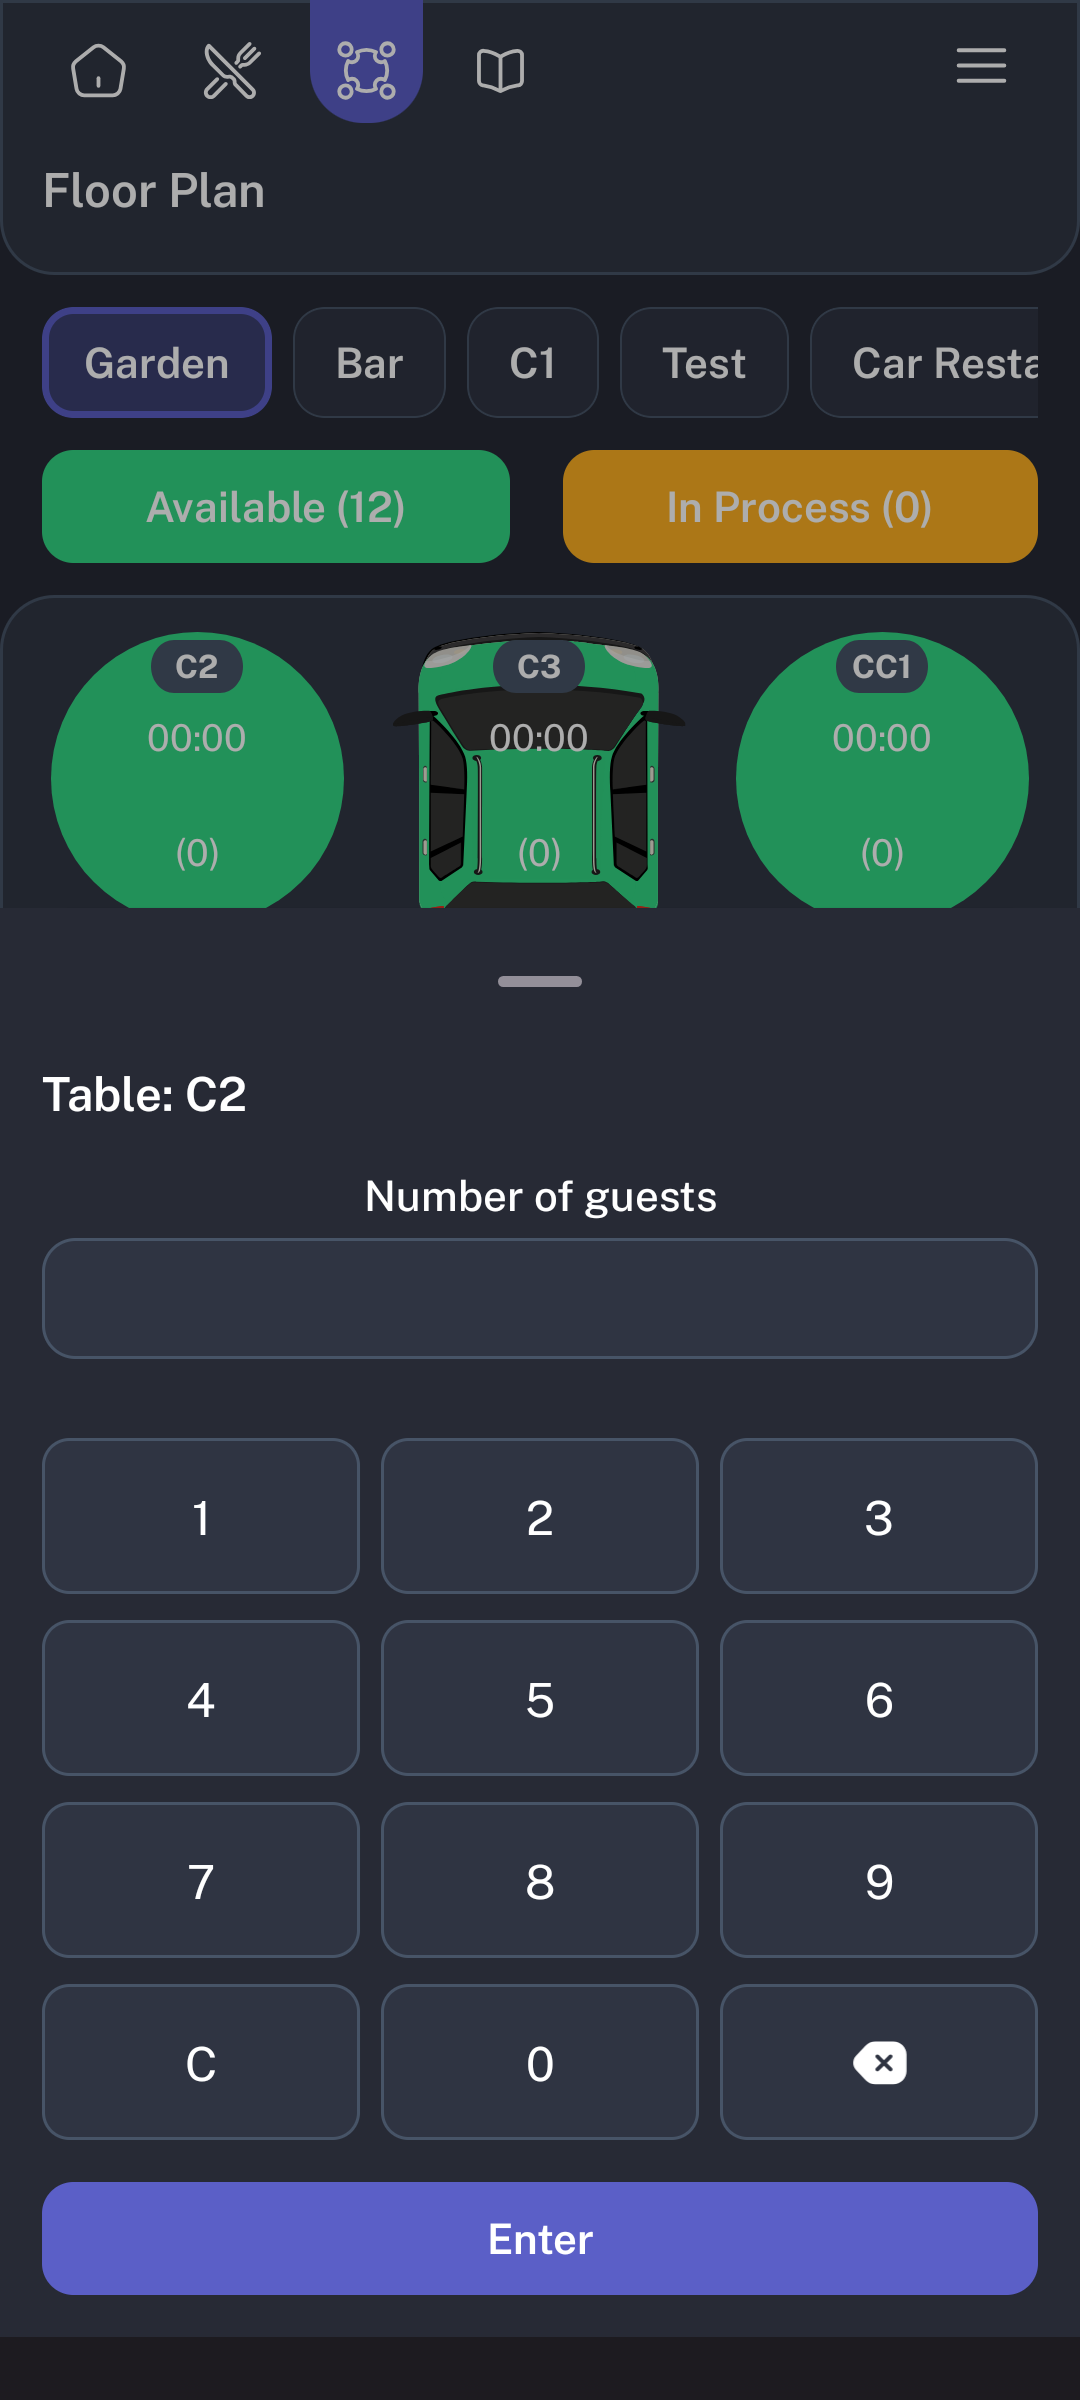
- Enter the Number of guests with the keypad.
- Tap Enter. POSHub marks the table in process and opens the order workflow for that table.
- If the table already has guests, tapping it opens the active order when your role is allowed to access it.
Bar Tab Bottom Sheet
-
Tap the Bar chip to show the tab card.
-
Tap the tab card. POSHub opens the tab customer bottom sheet.
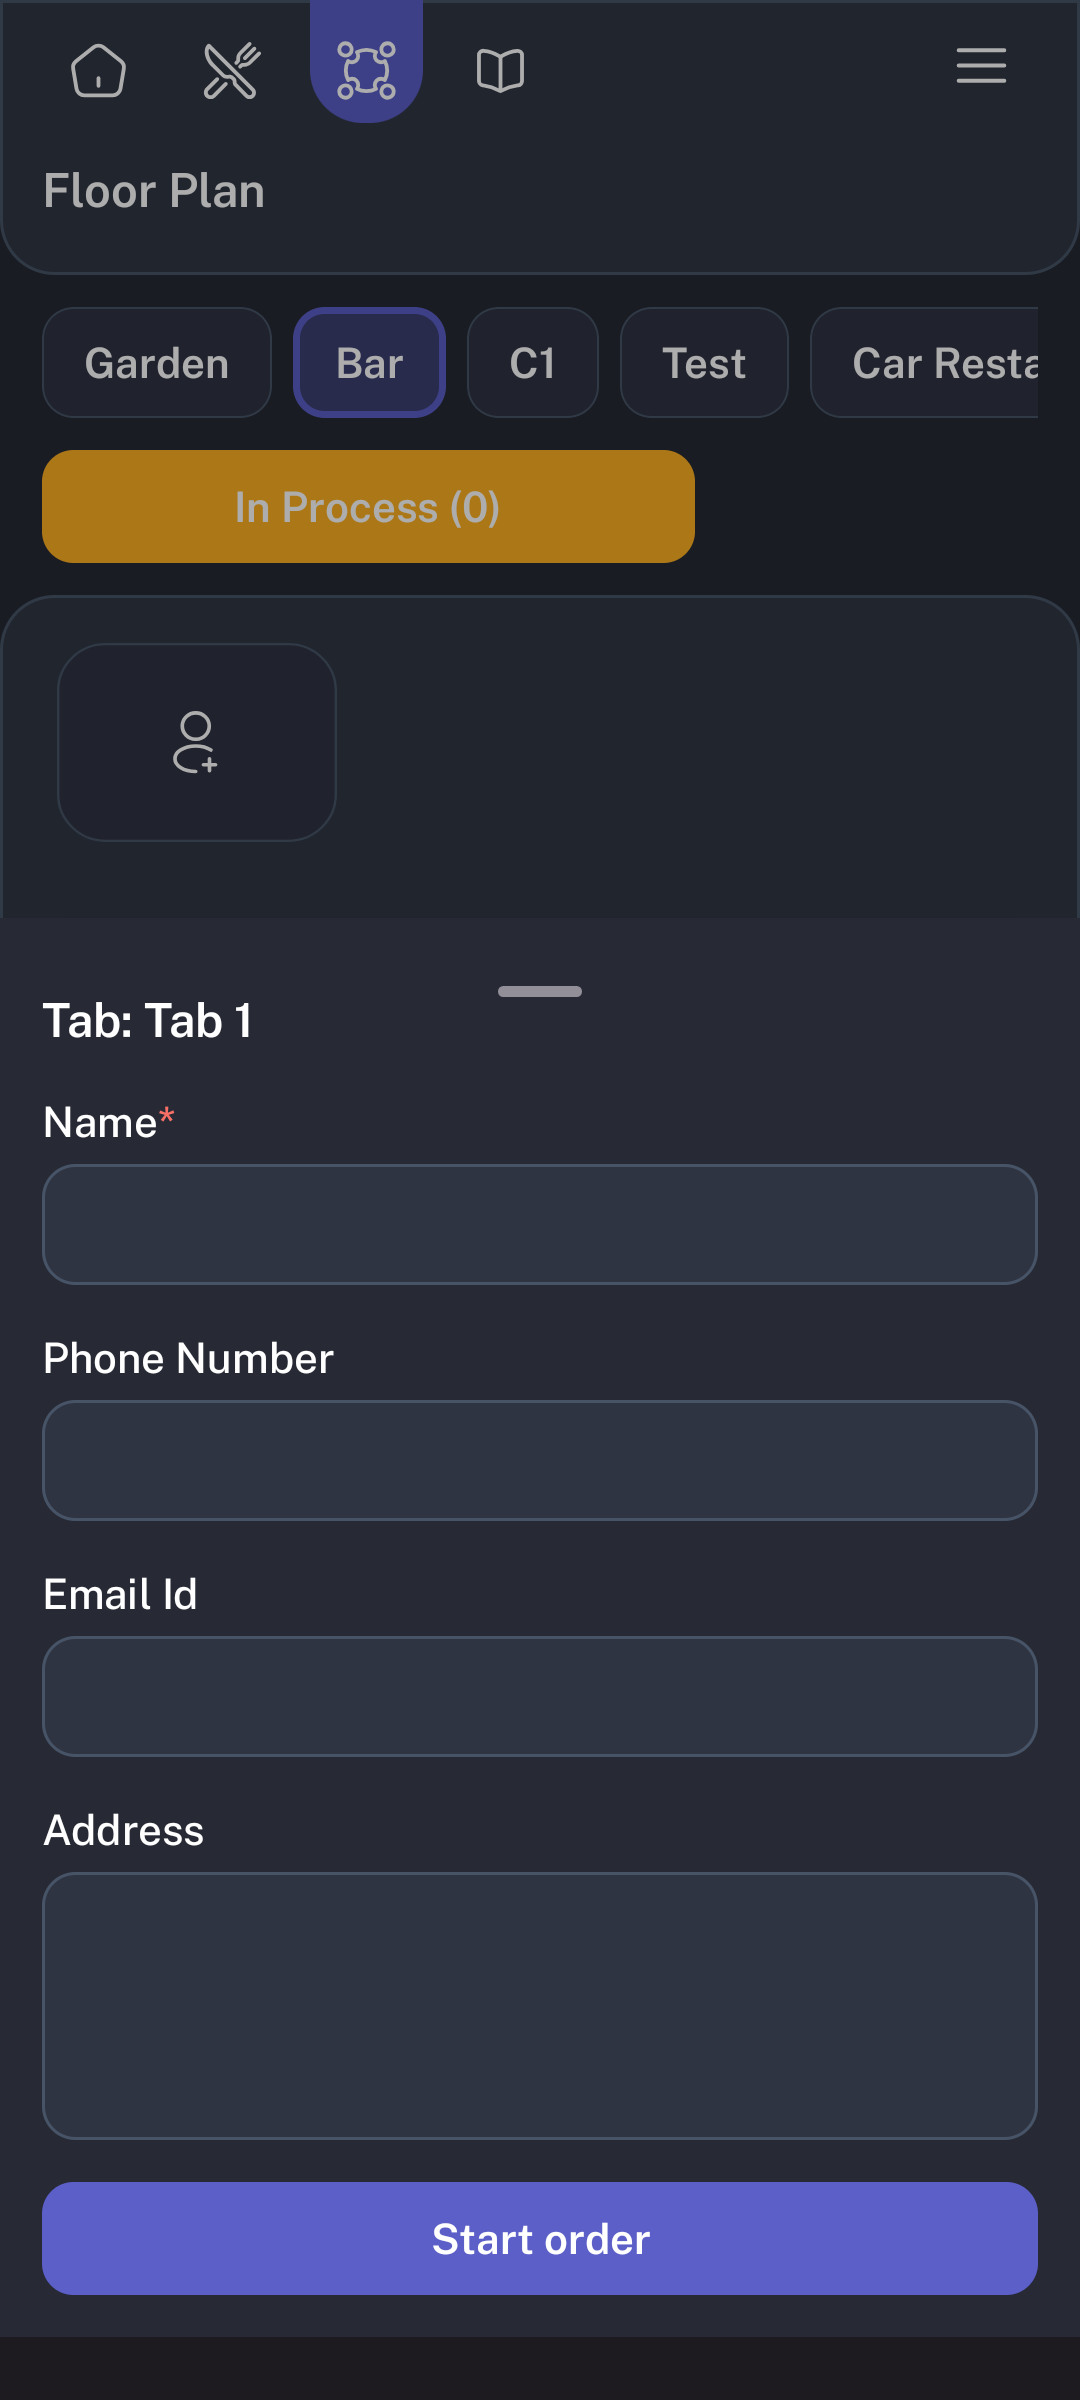
- Enter Name. This field is required.
- Enter Phone Number, Email Id, and Address when available.
- Tap Start order to start the tab order.
Floor Plan Order Actions
-
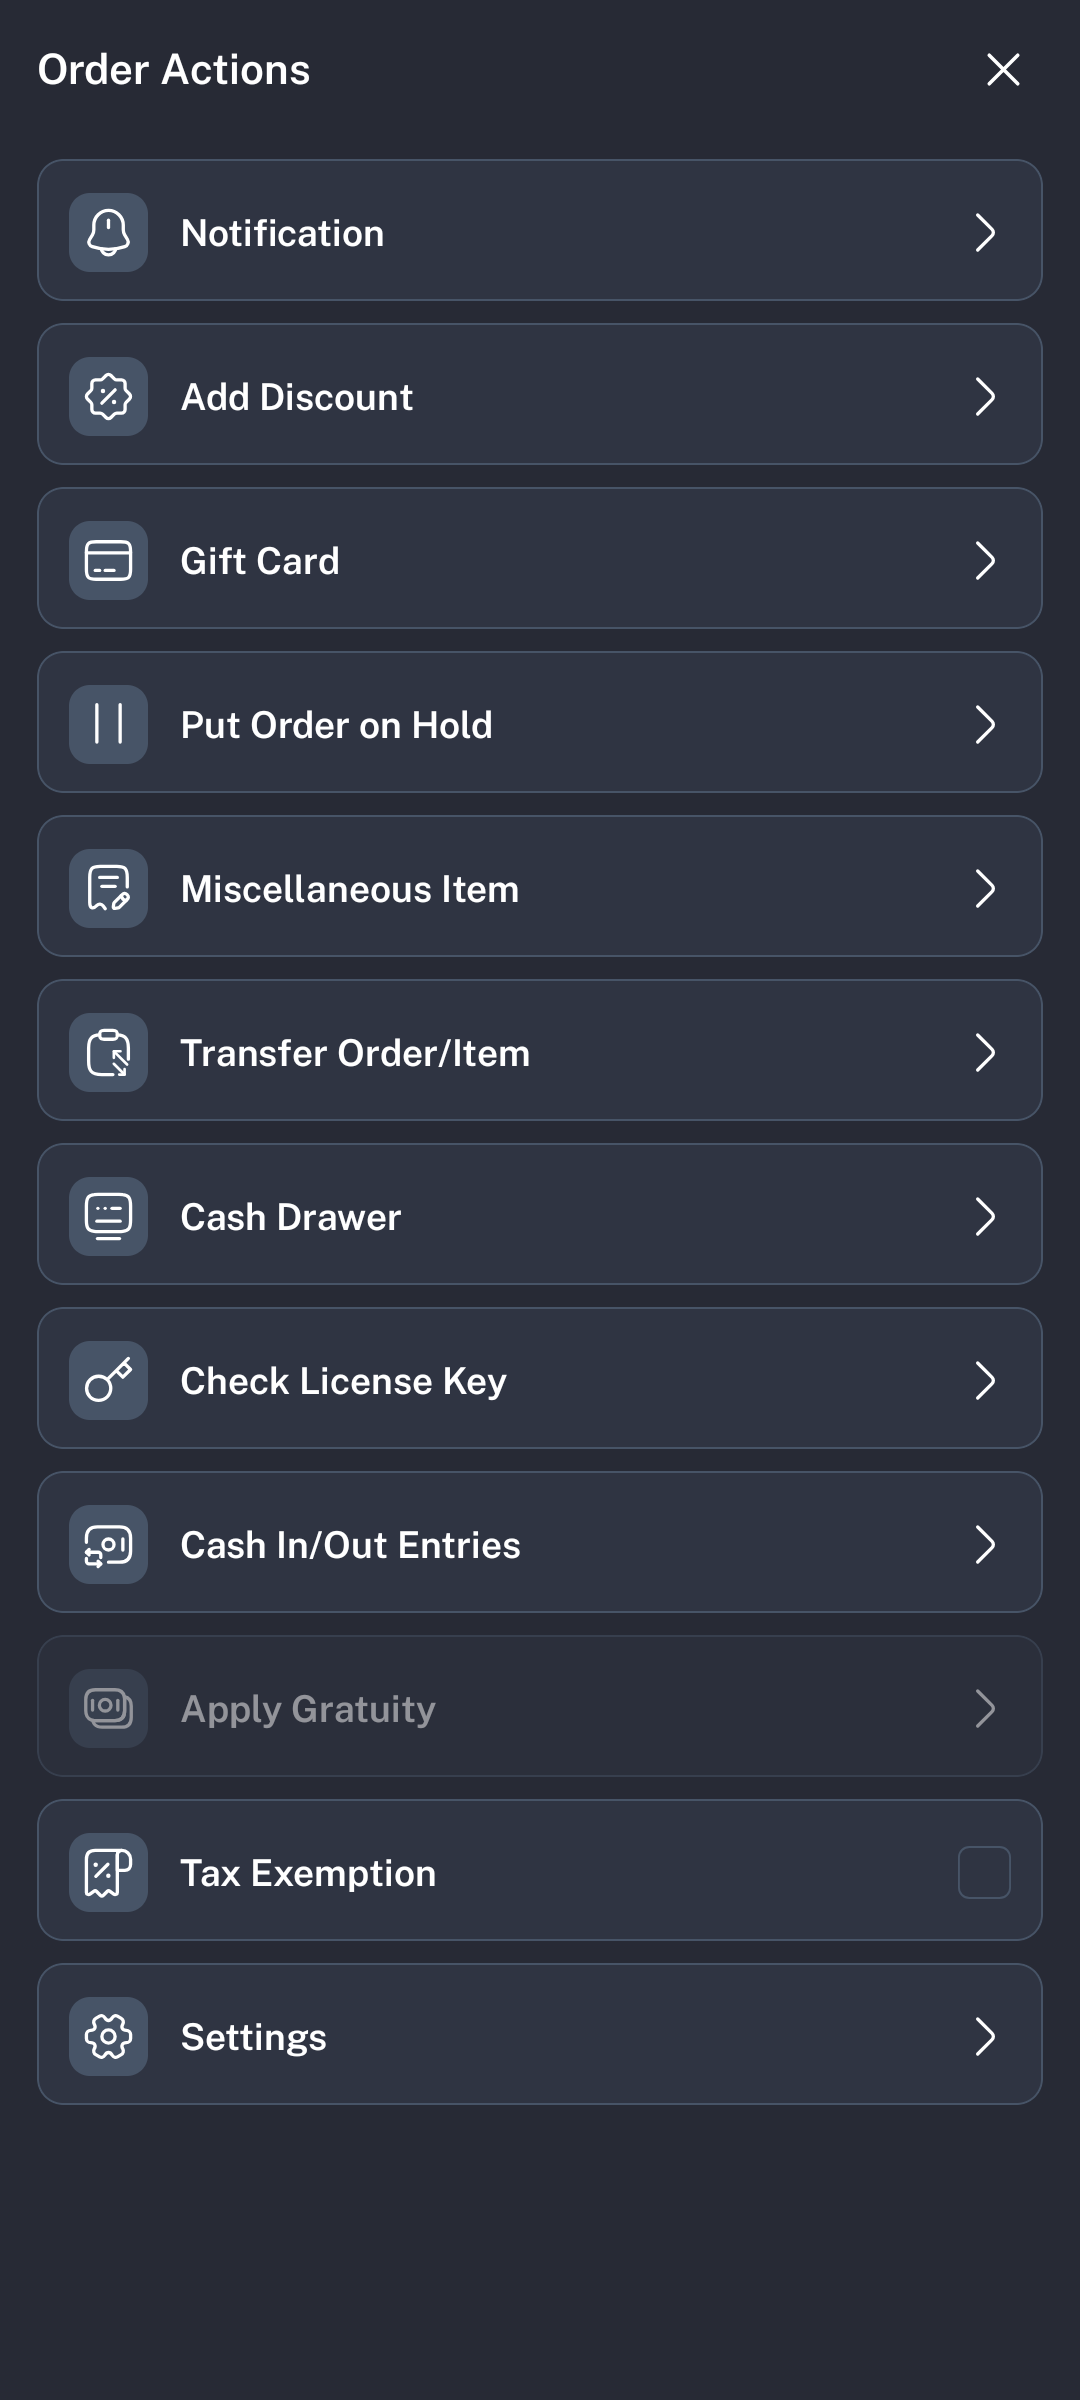
Tap the More icon on the Floor Plan screen to open Order Actions.
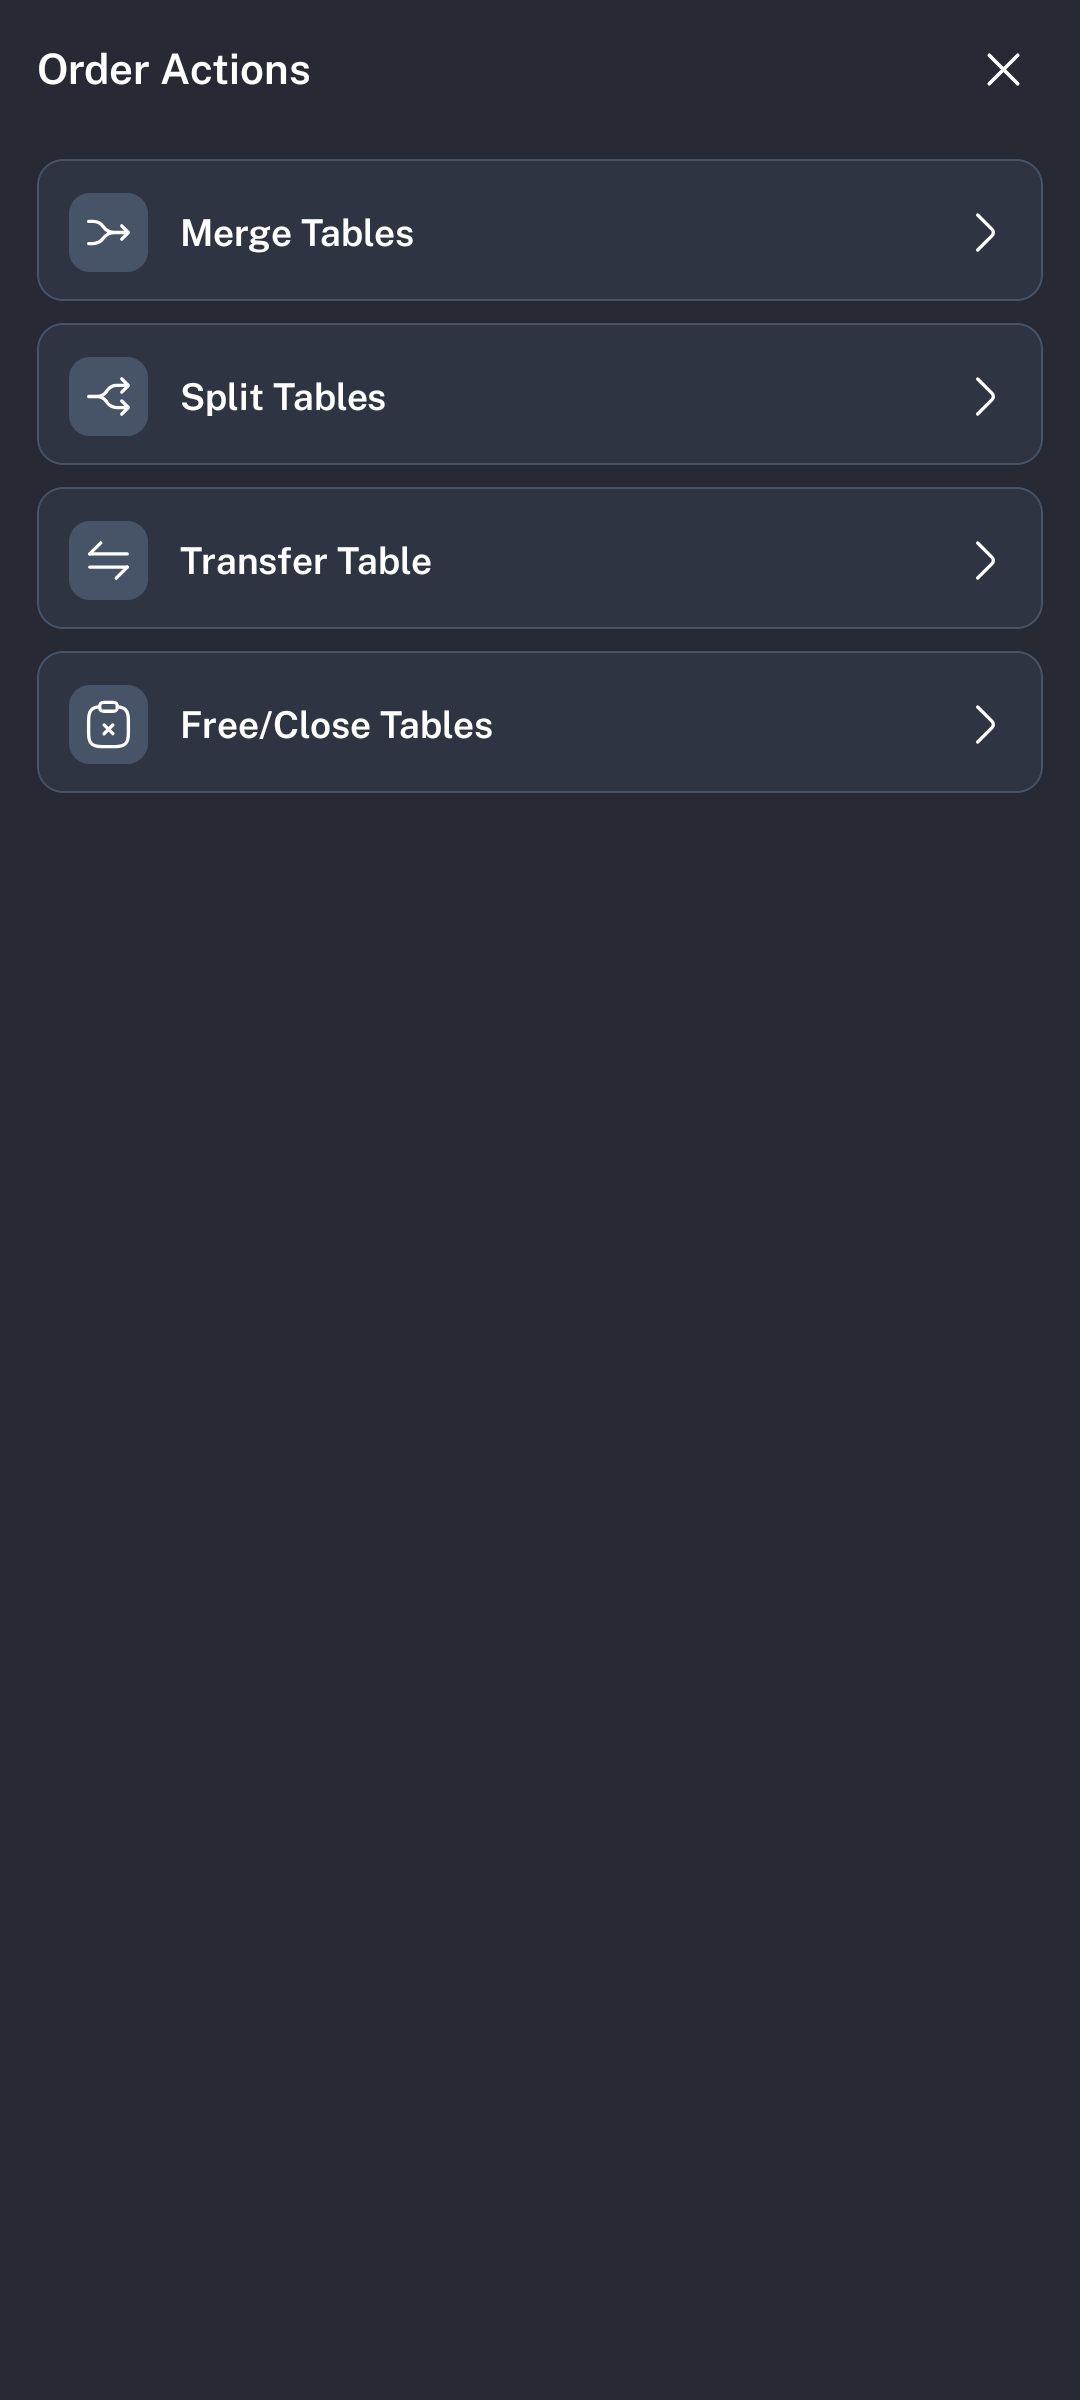
- Merge Tables: Select two or more available tables, then tap Done to merge them.
- Split Tables: Select a merged table, then tap Done to split it. In-process tables cannot be split.
- Transfer Table: Select the in-process table first, then select the free table where the order should move.
- Free/Close Tables: Frees tables without orders and shows a success message.
Expected Result
The selected chip changes the visible floor plan, table status filter, or action mode. Bottom sheets collect guest or tab customer information before POSHub starts an order.
Notes
Screenshots were captured from the Medium Phone emulator on July 6, 2026. The guide is based on the mobile Floor Plan behavior in TableMobileFragment.